Mastering Backgarden Elegance: A Guide to Pondless Waterfalls
Pondless waterfalls provide the aesthetic and soothing sounds of a waterfall without the maintenance of a pond. In this a guide to pondless waterfalls, you’ll learn about their benefits, how they work, and tips for planning and building one in your yard. Whether you want a low-maintenance feature or a safer option for families, this guide has got you covered.
Key Takeaways
Pondless waterfalls offer the beauty and sound of a waterfall without the maintenance hassle of a traditional pond.
Careful planning, including location selection and flow rate calculations, is crucial for a successful pondless waterfall installation.
Maintenance is simple and primarily involves regular cleaning to keep the waterfall functioning smoothly and looking great.
Understanding Pondless Waterfalls
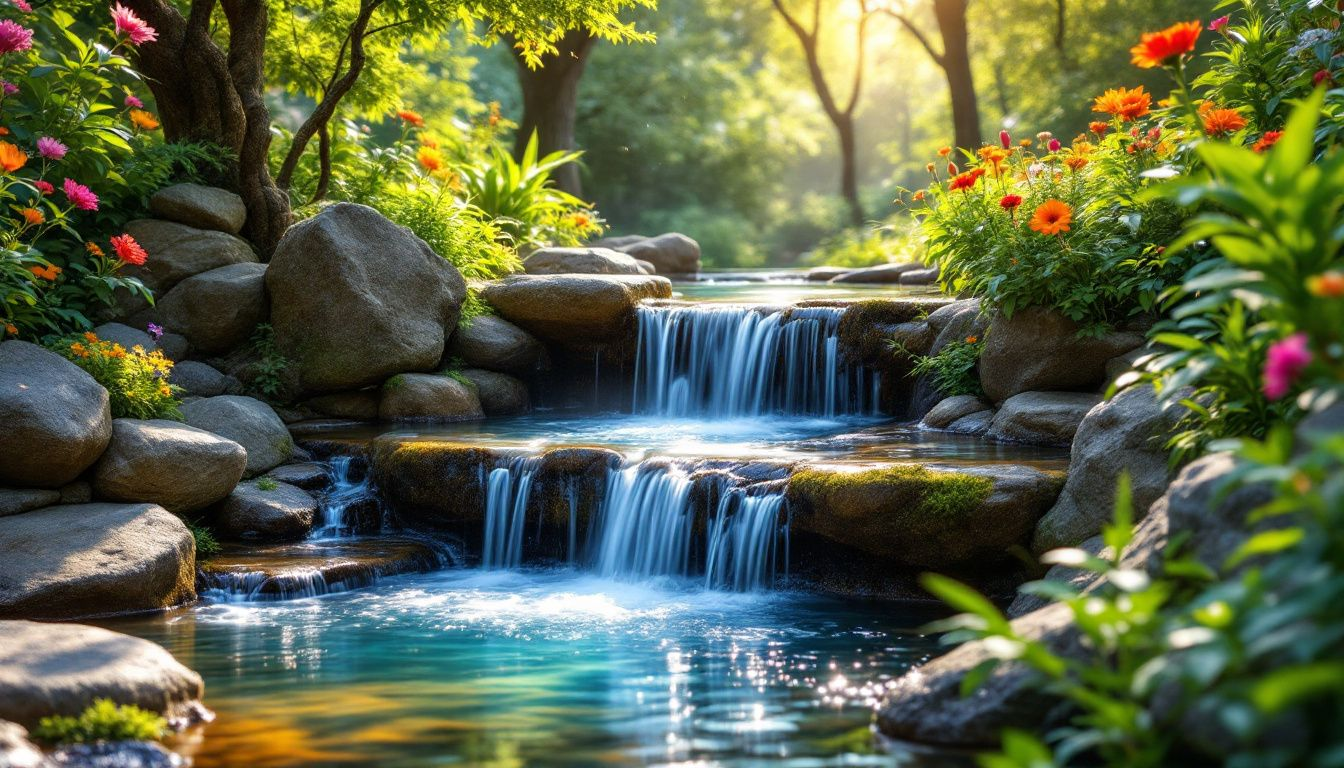
Pondless waterfalls are a unique type of water feature that provides the beauty and sound of a traditional waterfall without the need for a pond. Instead of pooling in a visible basin, the water flows down a rubber liner into an underground reservoir, where a hidden submersible pump recirculates it back to the top. This design makes pondless waterfalls almost maintenance-free, as there’s no pond to clean or filter.
One of the key benefits of pondless waterfalls is their low maintenance requirements. Traditional ponds require regular cleaning and filtering to keep the water clear and the ecosystem balanced. Pondless waterfalls eliminate these tasks, making them a hassle-free addition to your backyard. Plus, they require fewer resources and minimal digging compared to traditional ponds.
Safety is another significant advantage. Without a pond, there’s no standing water, reducing the risk of accidents for children and pets. This feature also makes pondless waterfalls suitable for smaller yards where space is at a premium. Additionally, the continuous sound of running water can create a sense of privacy by masking background noise.
Beyond practicality, pondless waterfalls add a touch of natural elegance to any landscape. They can evoke feelings of stress relief and pride, making your outdoor space not just a garden, but a sanctuary. The sight and sound of flowing water create a tranquil atmosphere, enhancing the overall aesthetic appeal of your home, including a small waterfall.
Planning Your Pondless Waterfall
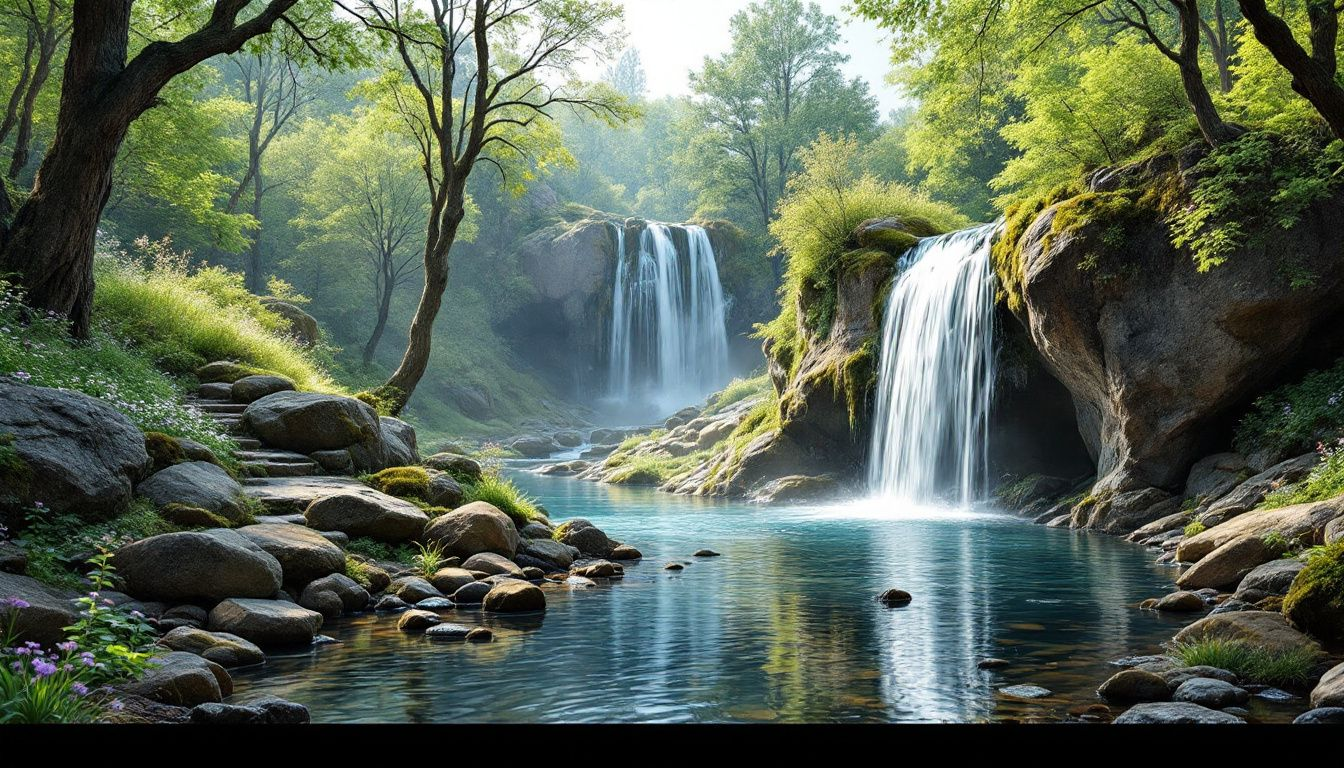
Planning your pondless waterfall is crucial to ensure a successful installation and optimal aesthetic appeal. Appropriate planning helps you choose the best location, design a natural layout, and determine the flow rate needed for the desired effect.
This phase sets the foundation for your project, determining how well your pondless waterfall will function and look.
Selecting the Perfect Location
The location of your pondless waterfall is key to maximizing its visibility and enjoyment. Positioning it in a visible area enhances its aesthetic impact, allowing you and your guests to appreciate its beauty from various viewpoints.
The sound of flowing water adds a soothing backdrop and enhances privacy during conversations. Additionally, the safety benefits of having no open water make pondless waterfalls a great choice for families with children or pets.
Visualize how the stream and waterfalls will integrate into your landscape when selecting a spot.
Designing the Layout
Designing the layout of your pondless waterfall involves creative planning to ensure a natural look. Outline the area using tools like spray paint or a garden hose before starting to dig.
Consider incorporating multiple tiers to enhance the visual flow and mimic the natural appearance of streams and creeks. The underground basin, which holds the water, should be sized appropriately to prevent overflow and maintain the illusion of water disappearing into the ground.
Finally, ensure the waterfall can be viewed from the most favorable angles to maximize its visual impact.
Calculating Flow Rate
Calculating the correct flow rate is essential for achieving the desired effect in your pondless waterfall. A general rule of thumb is to pump 100 gallons per hour (gph) per inch of waterfall spillway. For instance, a 12-inch spillway would require a pump that can handle 1200 gph.
Proper pump sizing ensures the waterfall operates efficiently, conserving water and minimizing operating costs. Using a larger diameter hose can also optimize water flow.
By carefully calculating the flow rate, you ensure your waterfall has the perfect balance of aesthetics and functionality.
Gathering Materials and Tools
Before you start building your pondless waterfall, gather all the necessary materials and tools. The pond liner is a significant expense, typically costing around $300. You will require two liners. One should be for the waterfall, while the other is for the underground basin. A 5500 GPH submersible pump, costing about $150, is essential for managing water flow. Additionally, components like a pump vault, rocks, and water hoses are crucial for the system’s functionality and aesthetics.
Including a filter and possibly a UV system helps maintain clear water. Rocks, which can often be sourced for free from construction sites, are used to create the waterfall structure. Aim for a mix of colorful accent boulders and flat stones to enhance the natural look. The pump vault houses the pump, preventing debris intake and allowing easy maintenance.
Don’t forget the accessories like water hoses, with a 25’ black hose costing approximately $50. Ensure the basin is adequately designed to accommodate all recirculated water without overflow. With all these materials at hand, you’re well-prepared to start your pondless waterfall project.
Excavation and Basin Preparation
Excavation and basin preparation are critical steps in creating a pondless waterfall. The basin is essential for holding the water needed to circulate through the waterfall. It must also be sufficiently large to contain all the water without any splashing. Before you start digging, call 811 to locate and mark any underground utilities to avoid accidents.
Digging the Basin
Start by digging the trench for the stream bed, ensuring it’s at least 8 inches deep. The mound of earth next to the pond for the waterfall should be around two feet high. Compact the dirt as you go to prevent settling.
To achieve a natural-looking waterfall, follow these steps:
Ensure that the water level is aligned with the ground. This will enhance the illusion of a seamless flow.
Angle each step of the waterfall downwards to promote effective water flow.
If needed, use stacked cinder blocks instead of dirt under the starting point for a pondless waterfall.
Installing the Pump Vault
Installing the pump vault involves positioning it at the basin’s lowest point to ensure optimal water recirculation. Before rocking in your pondless waterfall, connect the return line to the pump and the water diffuser at the top.
Tighten all connections to prevent leaks before adding rocks.
Lining the Basin
Line the basin with a rubber liner, extending the liner 8”-12” beyond the edges for extra protection. AquaBlox can be used to fill empty spaces in the reservoir, providing structure and support.
Apply a protective underlayment beneath the liner to safeguard against sharp objects. Prevent leaks by sealing the waterfall stream liner to the reservoir liner. Finally, raise the edges with earth or stones to ensure no water escapes from the lined waterfall.
Building the Waterfall Structure
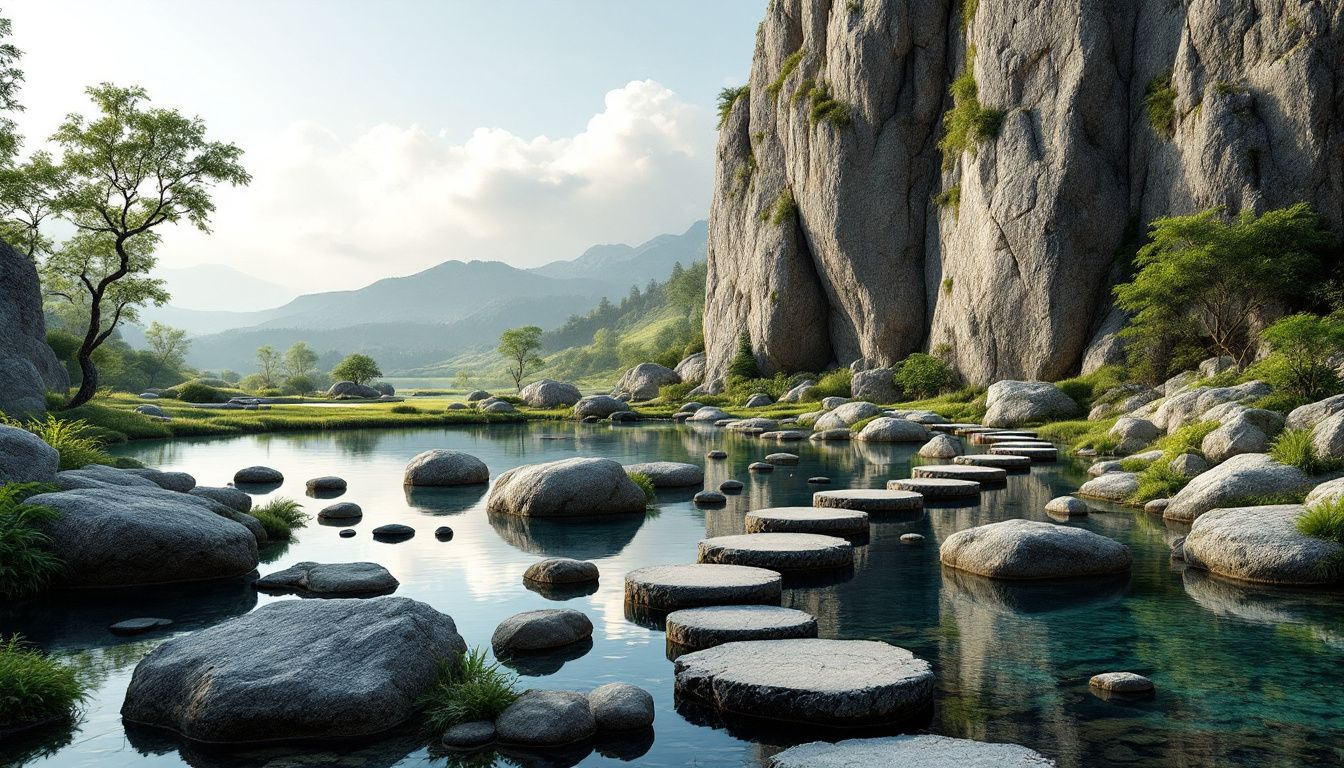
Building the waterfall structure requires careful attention to detail to achieve a natural look. Arrange rocks carefully, using flat and sharply edged stones for waterfall drops to enhance water flow.
Mimic the natural flow and aesthetics of creeks and streams when placing rocks, incorporating boulders, gravel, and plants around the waterfall to enhance its natural appearance.
Constructing the Waterfall
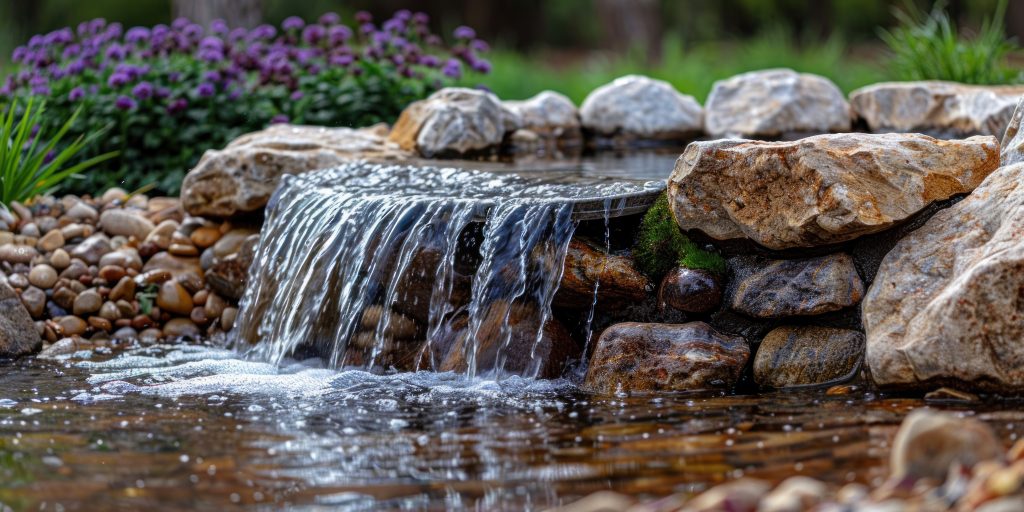
When constructing your pondless waterfall, use flat and sharply edged stones for the waterfall drops to ensure a smooth flow. Place the spillway rock level and slightly pitched forward to improve the flow. Slate is recommended for creating a spill rock due to its durability and natural appearance.
Larger rocks placed in the center of the stream can add visual interest and create a dynamic flow. Ensure an increased elevation from start to finish for a more robust waterfall.
Sealing Gaps
To prevent leaks, fill gaps between rocks with aquatic foam sealants. This step is crucial to ensure the water flows smoothly over the rocks without escaping through unintended spaces.
Proper sealing will maintain the integrity and functionality of your pondless waterfall.
Adding Decorative Elements
Enhance the natural beauty of your waterfall by adding decorative elements like boulders, gravel, and plants. Using a variety of rock sizes creates a more natural appearance. Integrate natural materials like moss and driftwood to age and soften the look of the feature.
These elements make pondless waterfalls increasingly popular and blend seamlessly into the surrounding landscape, demonstrating how pondless waterfalls work.
Connecting the System
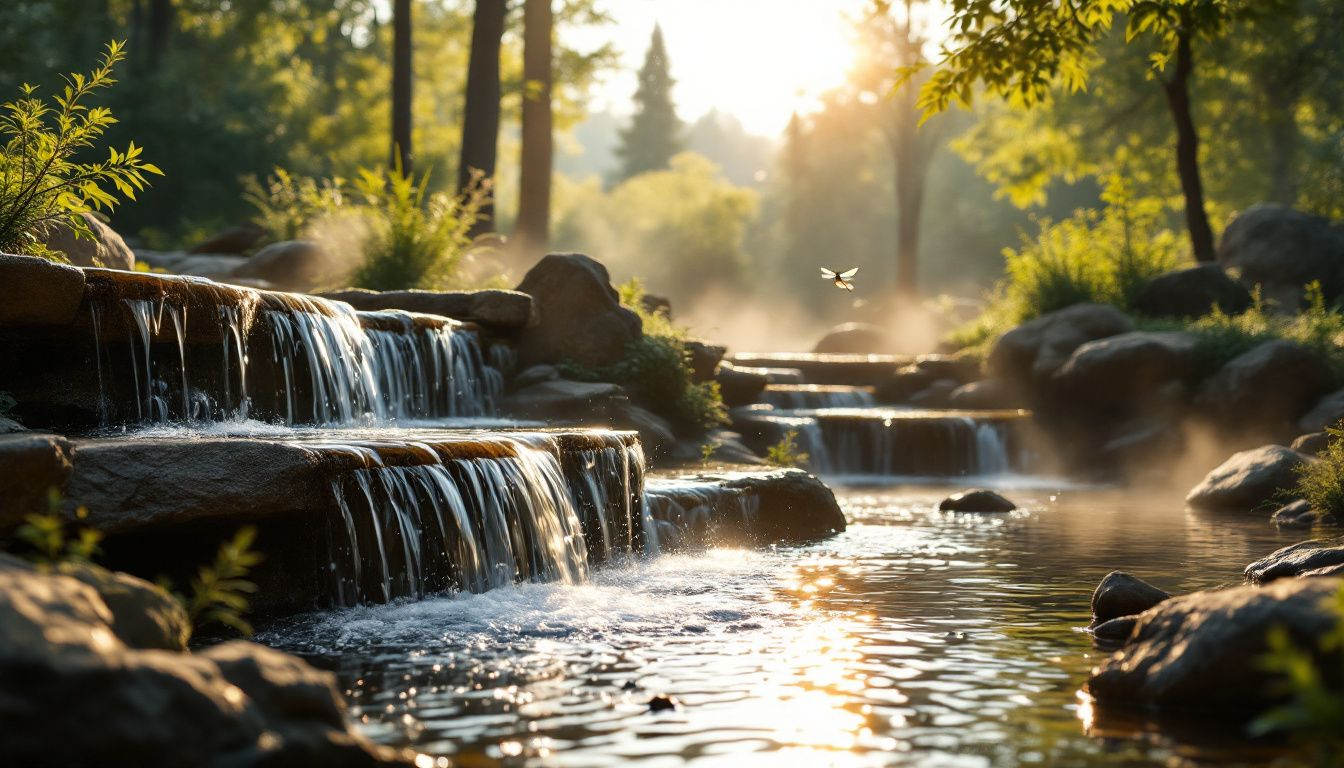
Connecting the system involves sealing the water trail and testing the setup to ensure optimal performance. Use premix cement or landscape foam to seal the water trail, enhancing water visibility and flow.
Once the rocks are in place, test the system by running the pump for at least 24 hours to check for leaks.
Installing Tubing
When installing tubing, ensure it is securely fastened to prevent leaks during operation. The tubing should be securely attached to both the pump and the water outlet at the waterfall’s top. Before final installation, prime and glue the flexible PVC pipe for secure connections.
Securing connections properly ensures optimal function and longevity of your pondless waterfall.
Testing the Water Flow
Activate the system and observe for any leaks, adjusting the water flow as needed to achieve the desired waterfall height and appearance. Check all connections and make necessary adjustments to ensure optimal water flow.
Adjusting the flow rate will help you achieve the perfect balance of aesthetics and functionality.
Finishing Touches
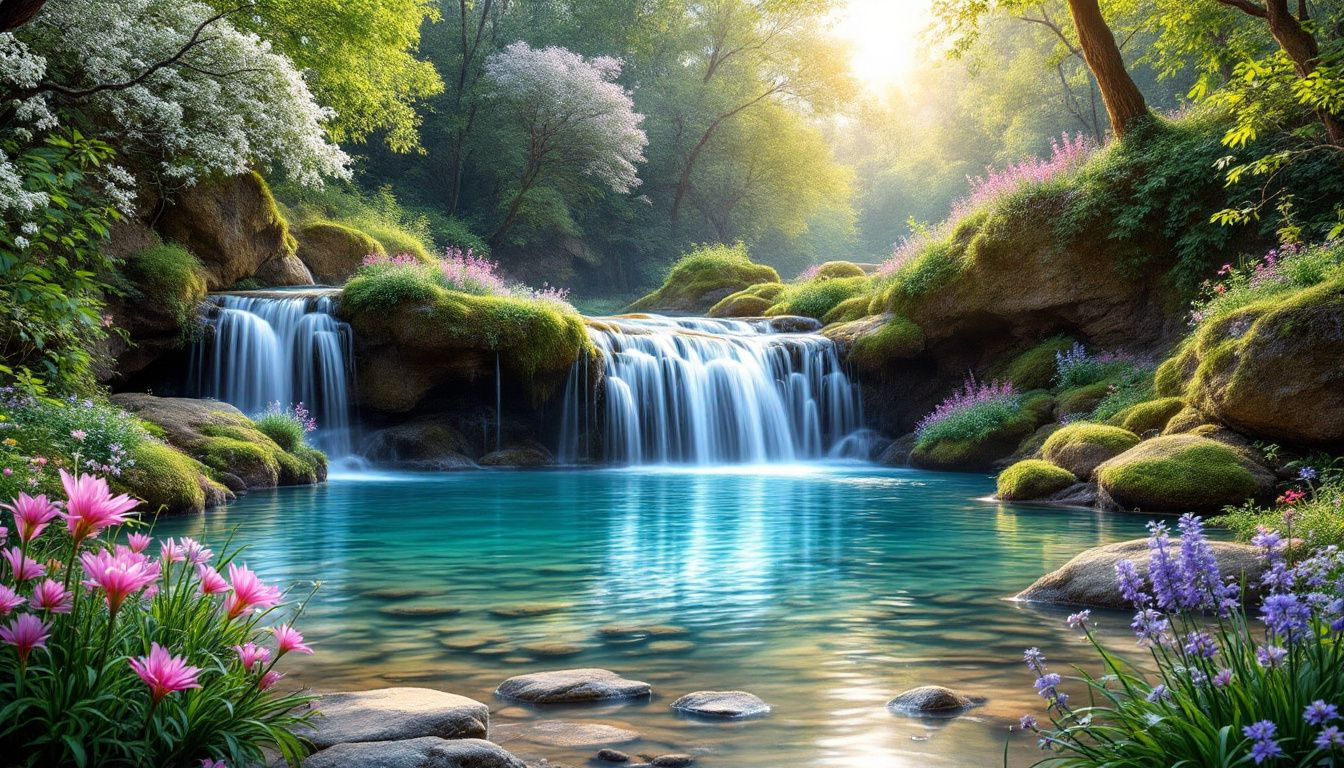
Finishing touches can significantly enhance the overall aesthetic appeal of your pondless waterfall. Incorporating lighting can highlight the waterfall’s beauty in the evening, creating a magical atmosphere.
After construction, inspect all areas for proper alignment and aesthetics to ensure everything functions as intended.
Covering the Liner
Cover the liner with rocks and pebbles to make the waterfall look as natural as possible. Trim the excess liner, leaving a little extra to accommodate seasonal settling.
Hide the liner effectively by sandwiching it between rocks on the water side and dirt on the backside.
Finalizing the Landscape
Enhance the natural beauty of your backyard by incorporating aquatic plants around the backyard waterfall, which also help maintain water clarity. Select plants that complement the colors and textures of the rocks to create a cohesive and appealing landscape.
Planting taller plants towards the back and shorter ones in front can add depth to the scene. Creating planter pockets for various plant types helps disguise hard edges and contributes to a natural look. A well-thought-out planting scheme will ensure your pondless waterfall blends seamlessly into your garden.
Maintenance Tips
Maintaining your pondless waterfall is relatively simple compared to traditional ponds. Regular cleaning is essential to keep your waterfall functioning smoothly and looking its best. Visible liner, excessive algae, and debris accumulation indicate that your pondless waterfall needs cleaning. Turn off the pump, drain the reservoir, and manually remove debris for cleaning. A pressure washer is recommended for cleaning rocks, as it provides more power than a garden hose.
After cleaning, check the liner edges for leaks, as low edges can indicate issues. Beneficial bacteria treatments help maintain clean water in the waterfall system.
By following these simple maintenance tips, you can ensure the longevity and beauty of your pondless waterfall, allowing you to enjoy its tranquil presence for years to come.
Summary
Creating a pondless waterfall in your backyard is a rewarding project that combines creativity, nature, and DIY skills. By understanding how pondless waterfalls work and carefully planning your project, you can transform your outdoor space into a serene retreat. Gathering the right materials, preparing the basin, constructing the waterfall, and connecting the system are all crucial steps in this journey.
With proper maintenance, your pondless waterfall will remain a beautiful and low-maintenance feature in your garden. The sound of flowing water, the sight of a natural-looking waterfall, and the sense of accomplishment will bring endless joy and relaxation. So, take the plunge and create your own backyard oasis today.
Frequently Asked Questions
What is a pondless waterfall?
A pondless waterfall is a beautiful water feature that creates a flowing waterfall effect while the water disappears into an underground basin. It recirculates through a hidden pump, giving you all the charm without the maintenance of a pond.
How do pondless waterfalls work?
Pondless waterfalls create a beautiful flow of water by using a pump to cycle water from a hidden reservoir back to the top of the waterfall, keeping everything tidy without a visible pond. It’s a great way to enjoy the soothing sound of water without the maintenance of a pond!
What are the benefits of a pondless waterfall over a traditional pond?
A pondless waterfall is easier to maintain and safer for kids and pets since there’s no standing water. Plus, you’ll save on resources while enjoying the soothing sound of water!
What materials are needed to build a pondless waterfall?
You’ll need pond liners, a submersible pump, a pump vault, rocks, water hoses, and AquaBlox for the reservoir to get started on your pondless waterfall. It’s a fun project that brings a soothing water feature to your space!
How do I maintain a pondless waterfall?
To keep your pondless waterfall looking great, regularly clean the area by draining the reservoir and removing debris, and consider using a pressure washer on the rocks. Don’t forget to add beneficial bacteria treatments for clear water!

